How to set multiple stores and domains in Magento


One of the useful features in Magento is the ability to create multiple stores and domains that shares the same magento installation. This allows you to manage any number of stores or websites from the same admin panel, thus making your work a lot easier. You can easily scale your store and add new catalogs and categories to it without losing control over them. There are a few ways to enable this functionality. Here we are going to see how to create multiple websites having different languages under the same admin area.
Step 1: Create root category
1. Go to Catalog -> Manage Categories.
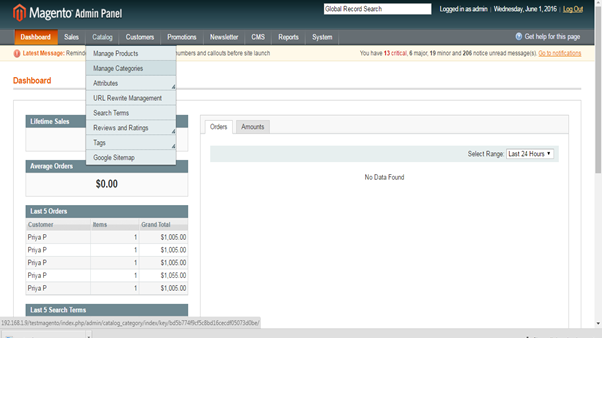
2. If you want both your websites to share same “Default Category”, select it by clicking on it on the left. Click on “Add Root Category” to create new root category different from the existing one.
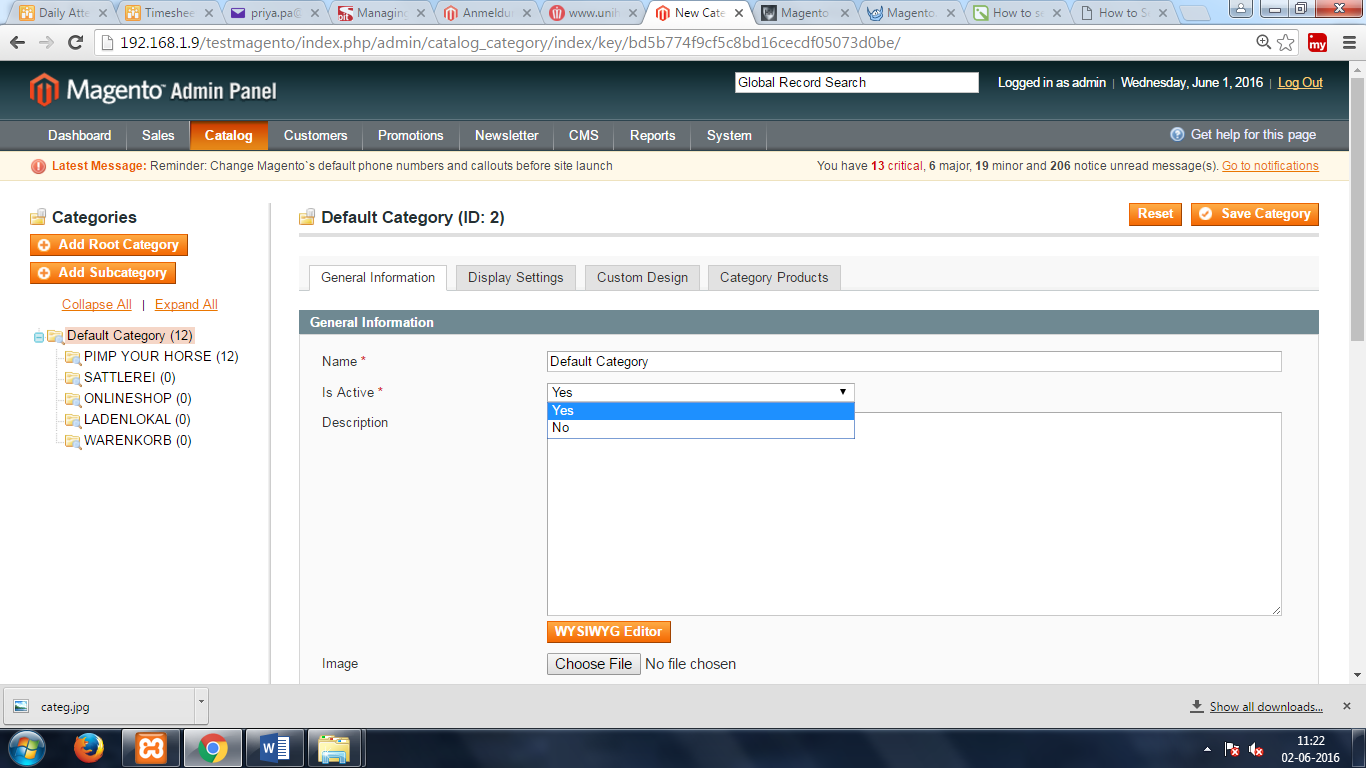
3. After selecting the category, under the General Information tab, set Is Active to Yes and under the Display Settings tab, set Is anchor to Yes.
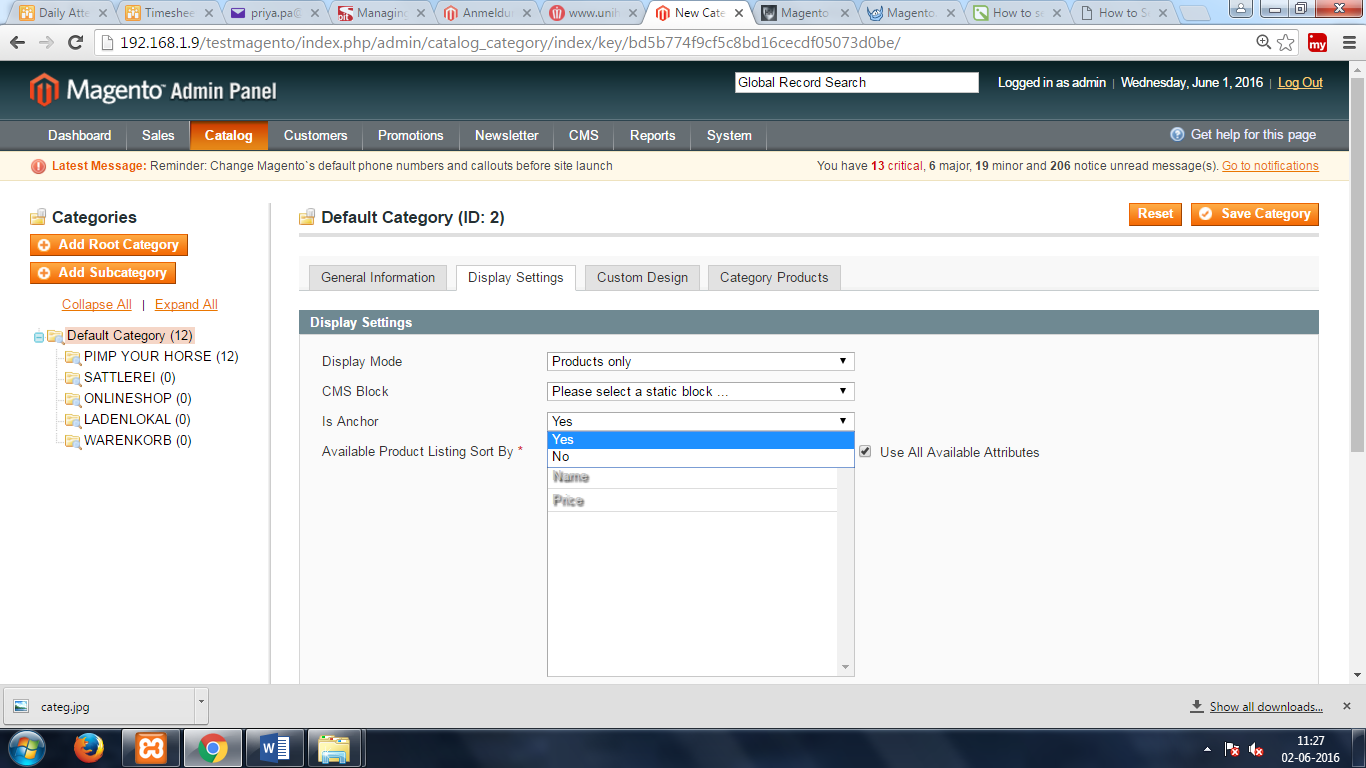
4. Click on Save Category.
Step 2: Store configuration.
1. Go to System -> Manage Stores. On the page that opens there are three buttons Create Website, Create Store, Create Store View.

2. Click Create Website On the page that opens, there are three fields: Name, Code and Sort Order.
In the Name field, enter the name for the website. It doesn’t have to be the URL address of your new shop; just type any name that you want. That will be the domain name of the new website.
In the Code field, enter the code you want. It is a parameter that will be used in configuring the Apache web server to point to that particular domain name. You can only use lowercase letters and numbers. If you use more than one word, separate them with underscores.
Optionally, you can type a number in the Sort Order field to determine the position in which the website will be displayed in the various menus in the admin panel.
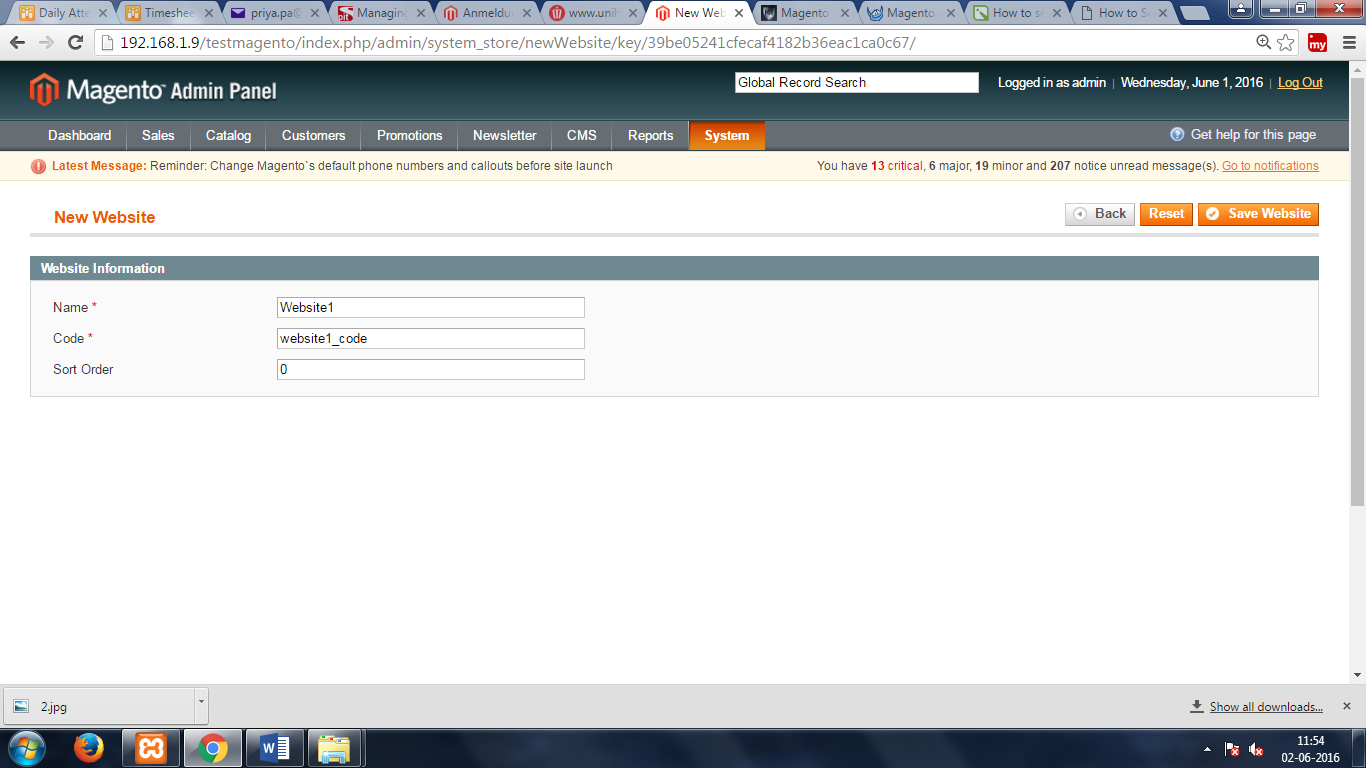
3. Click Save Website.
4. This will bring you back to back to the page System -> Manage Stores. Click the Create Store On the page that opens, there are three fields: Website, Name and Root Category.
From the Website drop-down menu select the website that you just created.
Type a name for the store in the Name field. Select the root category from the Root Category drop-down menu.
You can select the root category from the Root Category drop-down menu.
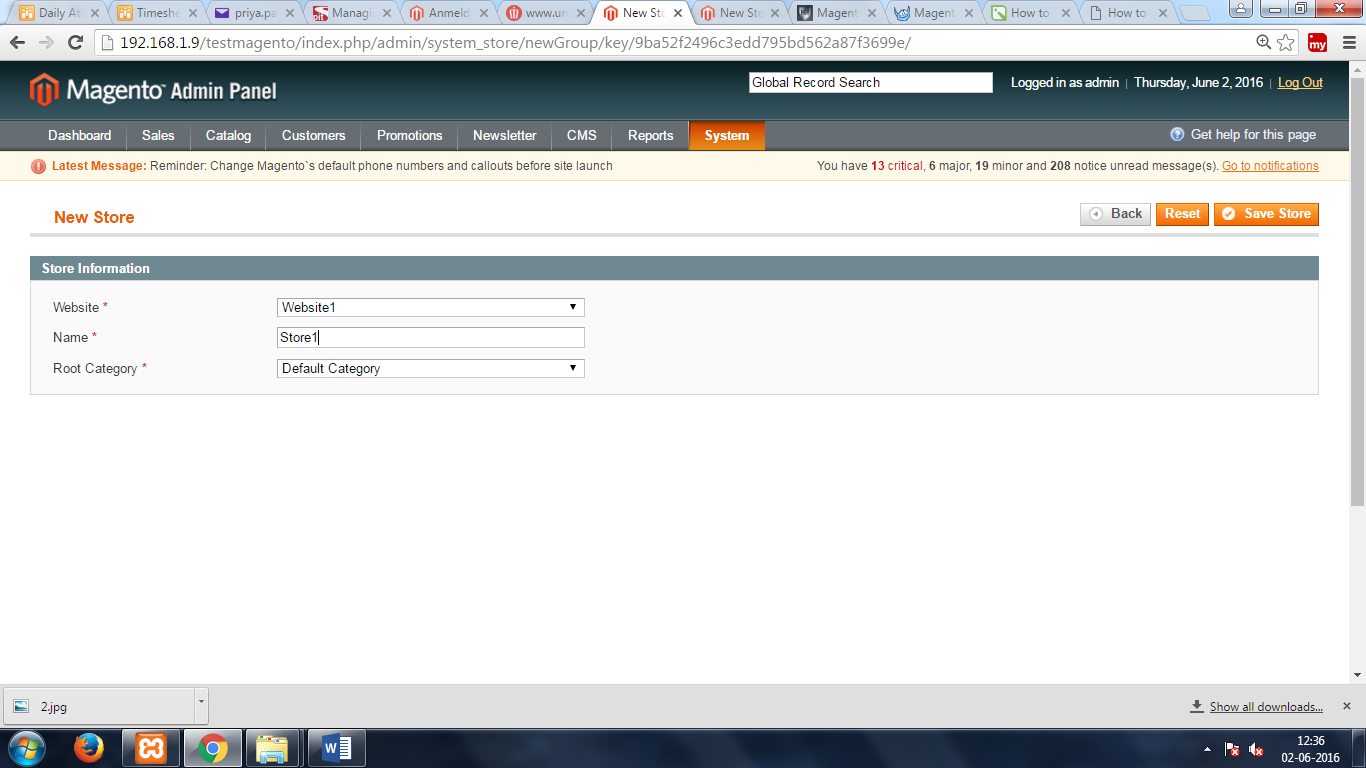
5. Click Save Store.
6. This will bring you back to back to the page System -> Manage Stores. Click the Create Store View On the page that opens, enter the following fields: Store, Name, Code, Status and Sort Order.
From the Store drop-down menu select the store that you just created.
In the Name field enter a name of this store view (i.e. English Version).
In the Code field enter a unique code for this store view.
Set the Status drop-down menu to Enabled to make the shop accessible on the frontend.
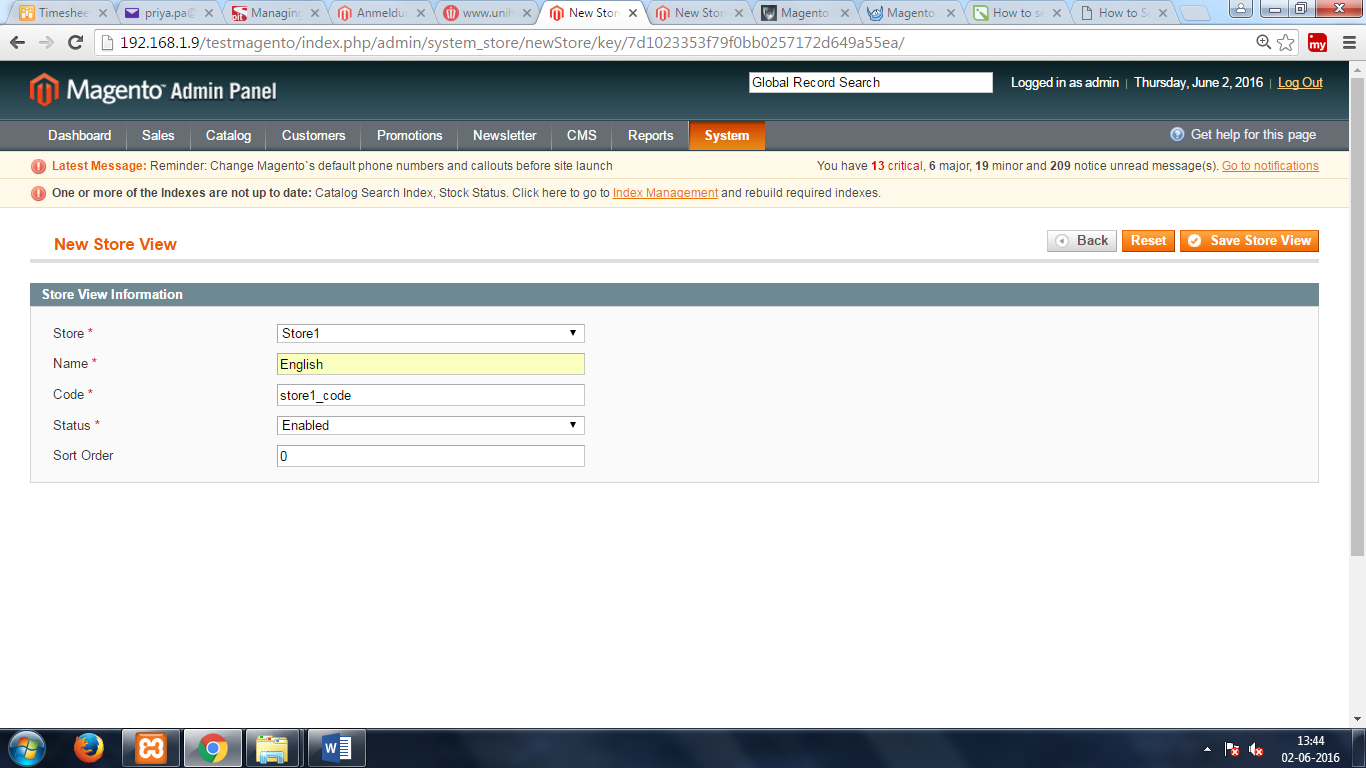
7. Click Save Store View.
Step 3: Store Configuration in the Server
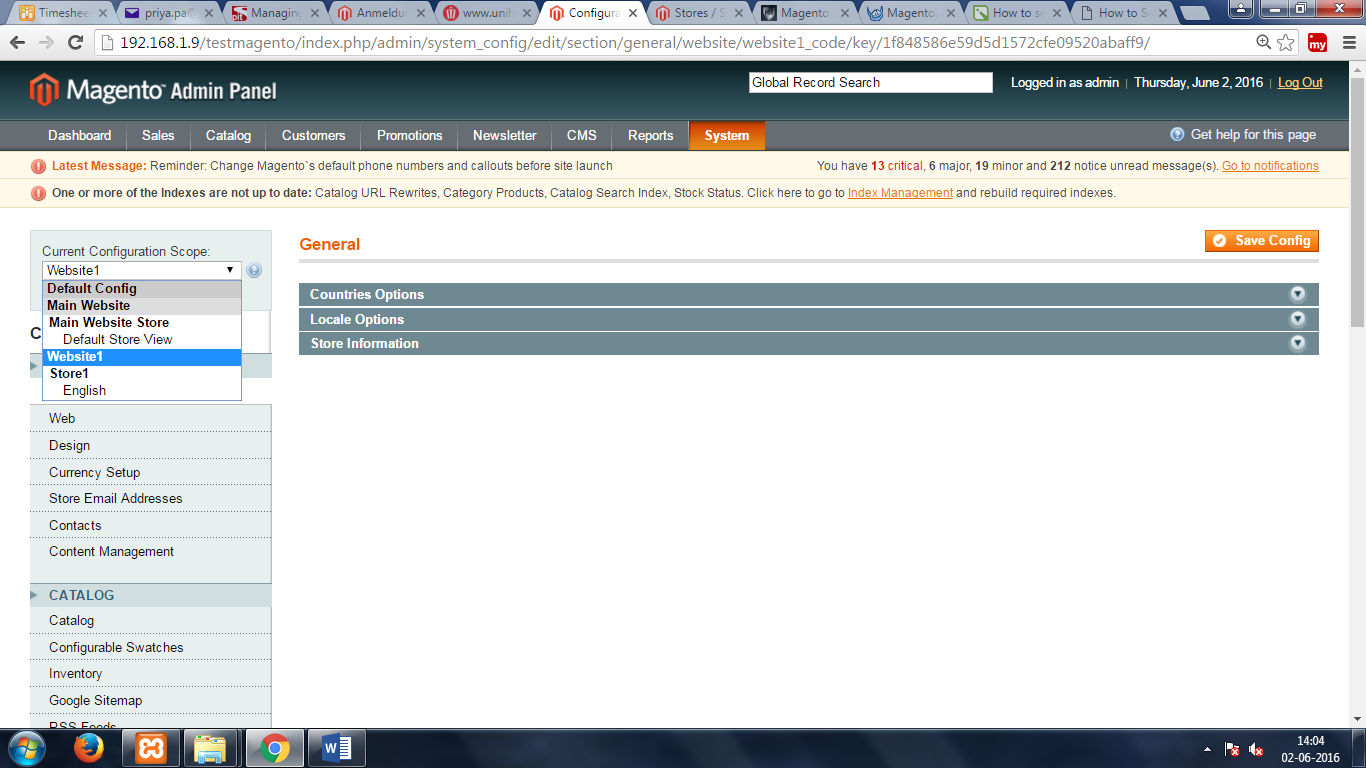
1. Go to System -> Configuration.
2. From the Current Configuration Scope drop-down menu which is in the upper-left corner, select the website you just created.
3. Go to General -> Web. Click on the Unsecure panel to expand it.
4. Uncheck the Use Default checkbox for Base URL field and type the full url address of the new store.
5. Make changes to the Secure panel in the same way.
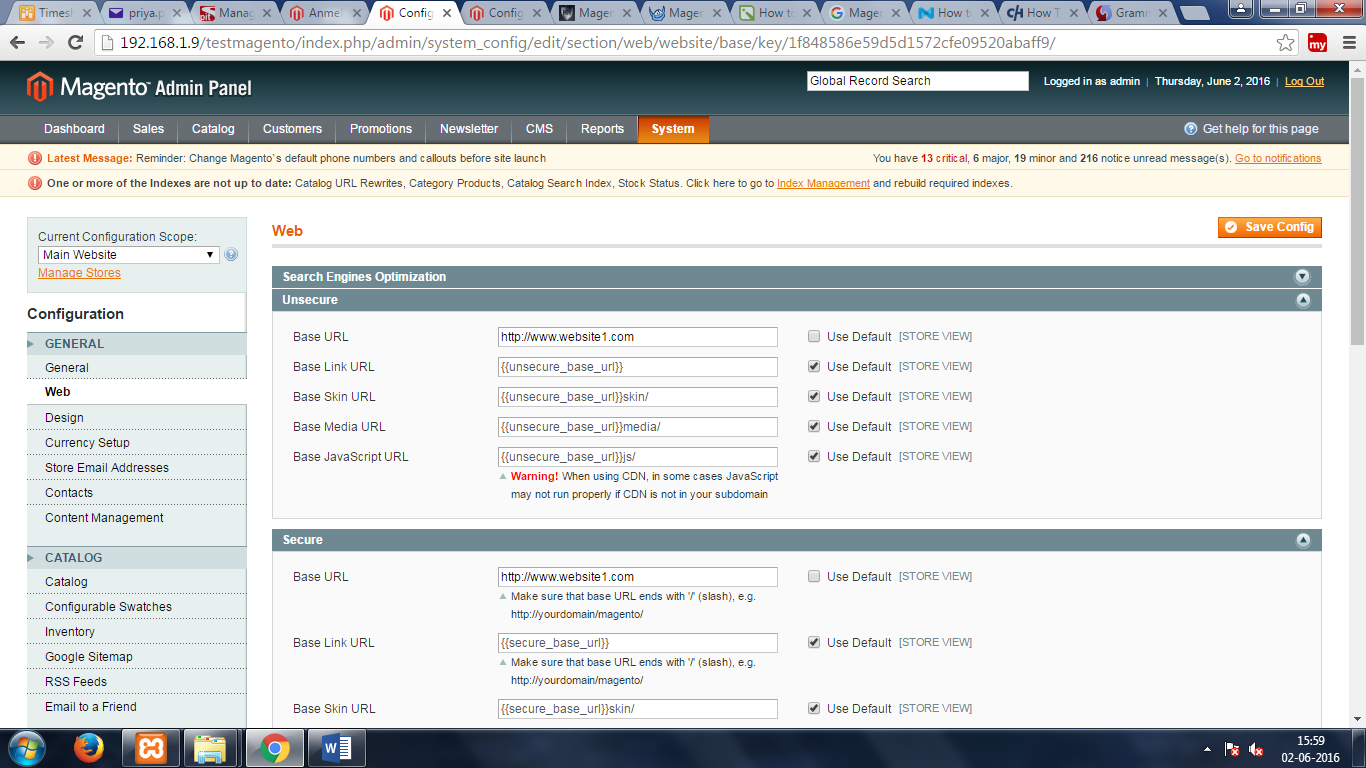
6. Click Save Config.
So far we have created a new website – Website1 and a store and store view for that website. By using the same method we can create other websites and stores by following the same procedure. We have 2 domains now. – A domain that points to a hosting account on which you have installed Magento and the newly created website1.com.
In addition to configuring the settings in the admin panel as described above, you also have to do a few other things to make the shop work. You can create a multistore with each store in a subdirectory.
1. First, check to make sure that the name servers for the second domain point to the name servers of the first domain (the one with the Magento installation).
2. You have to add the necessary DNS records for the domain that you want to include in the multistore.
3. Edit the index.php file of the magento installation.
Find the following code:
Mage::run($mageRunCode, $mageRunType);
Just before that line you need to put the following code:
switch($_SERVER[‘HTTP_HOST’]) {
case ‘website1.com’:
case ‘www. website1.com’:
$mageRunCode = website1_code’;
$mageRunType = ‘website’;
break;
}
In case you want to add more shops, expand the code that you put in the index.php file like this:
switch($_SERVER[‘HTTP_HOST’]) {
case ‘website2.com’:
case ‘www. website2.com’:
$mageRunCode = website2_code’;
$mageRunType = ‘website’;
break;
case ‘website3.com’:
case ‘www. Website3.com’:
$mageRunCode = website3_code’;
$mageRunType = ‘website’;
break;
case ‘website4.com’:
case ‘www. Website4.com’:
$mageRunCode = website4_code’;
$mageRunType = ‘website’;
break;
}
Now open with your browser the URL address of each shop to check whether the frontend of each one works correctly.
In the backend, while adding or editing products you can now select the website in which you want it to be displayed.
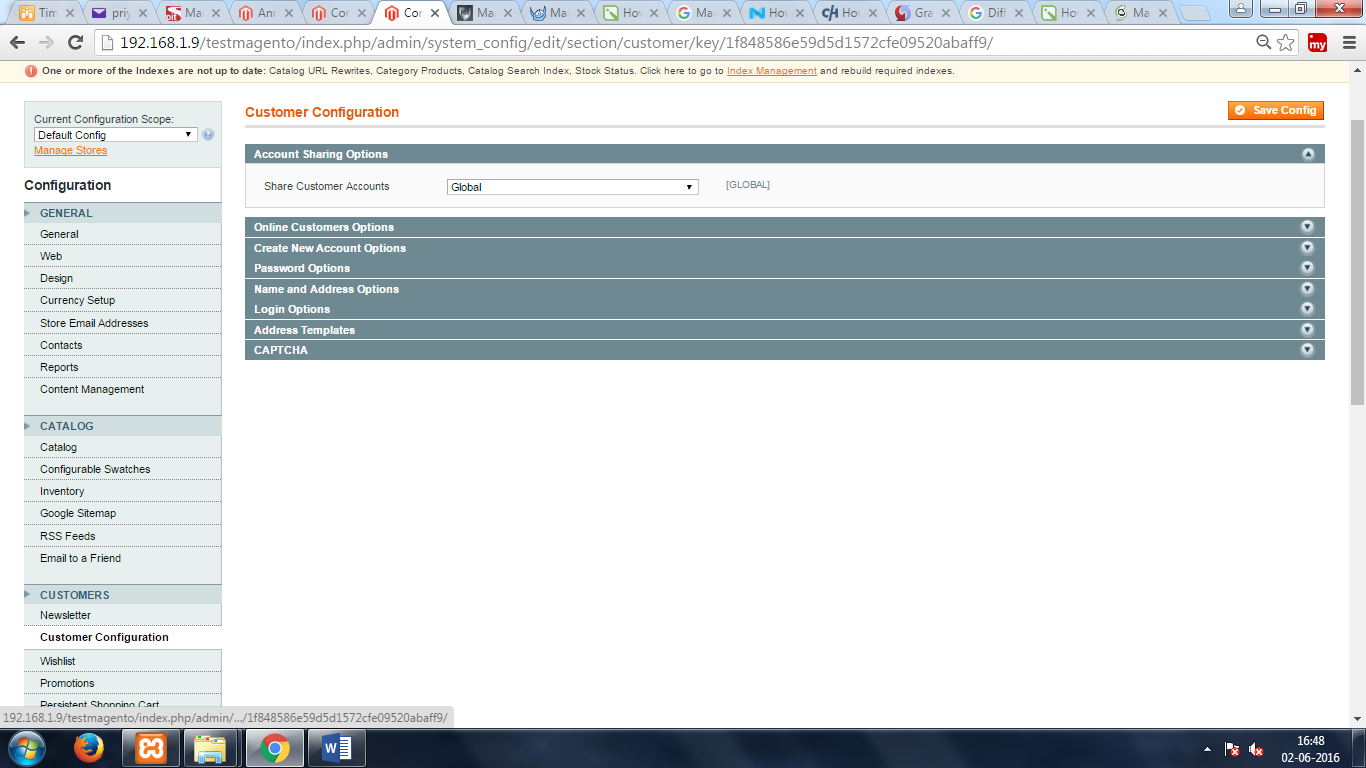
It is also possible to share customer accounts across websites if you want by changing the customer configurations. For this:
Go to System>Configuration>Customer Configuration button in the Customers section on the left>Account Sharing Options panel on the right: set the Share Customer Accounts drop-down menu to Global and click on the Save Config button.
It is also possible to set a different theme for each store. To do this in the admin panel, go to System>Design, on the page that opens click on the Add Design Change button and configure the settings. Design changes are actually set per store view.
References:
Magento. How to set up and manage Multiple Stores – Template Monster Help